Description
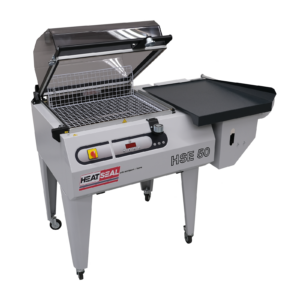
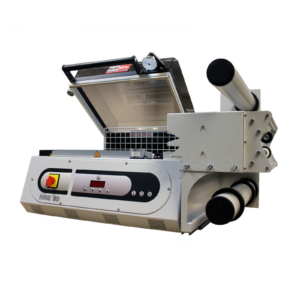
Entry-level combination machine. Economical and durable option for small volume shrink wrapping. Ask us about our 5-day rapid shipping program!


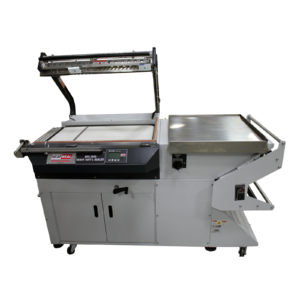
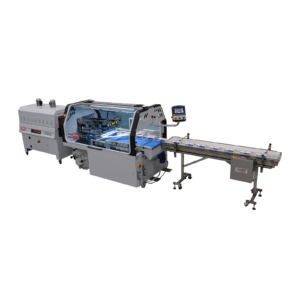
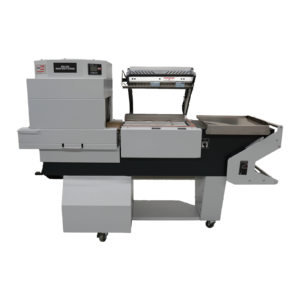
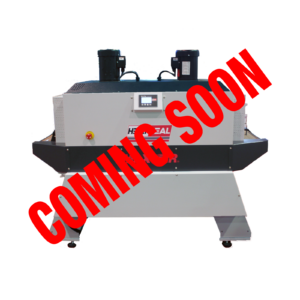
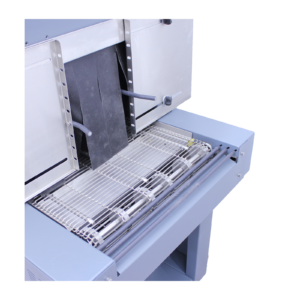
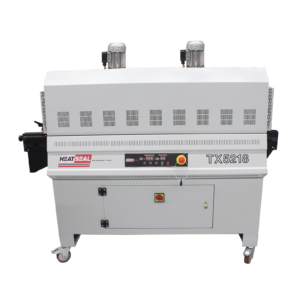
HSE100 Standard Duty Semi-Automatic Combo Shrink Systems
Entry-level combination machine. Economical and durable option for small volume shrink wrapping. Ask us about our 5-day rapid shipping program!
| Weight | 380 lbs |
|---|---|
| Shipping Dimensions | 76.5 × 24 × 55 in |
The Standard Duty Semi-Automatic Combo Shrink Systems HSE-100 is covered by a 2 Year Warranty. For more information, go to our warranty page.
$4,220.00
Add to cart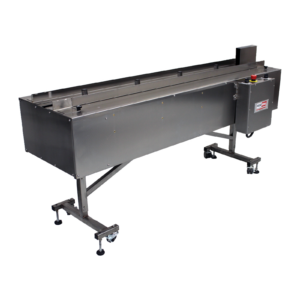
$5,010.00
Add to cart
$4,600.00
Add to cart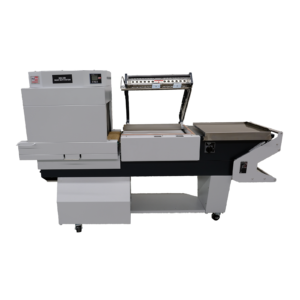

$4,600.00
Add to cart