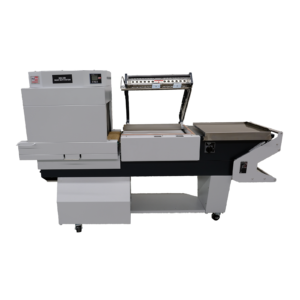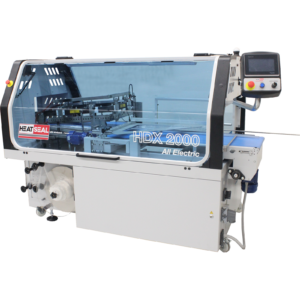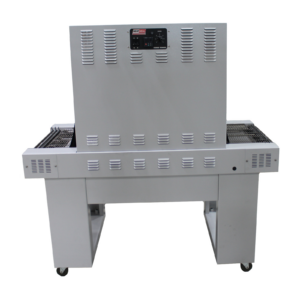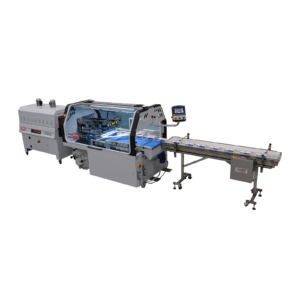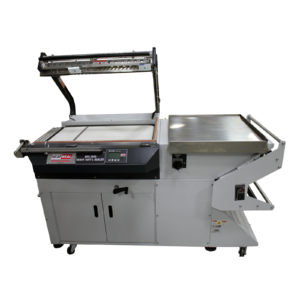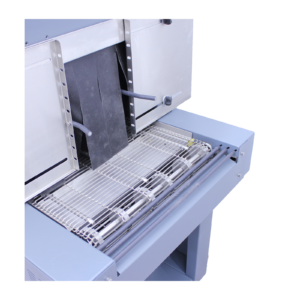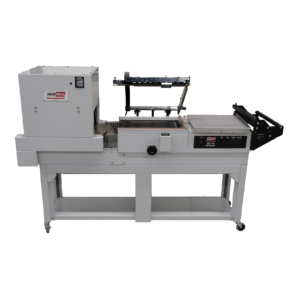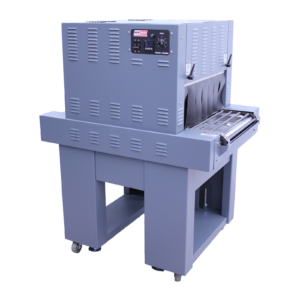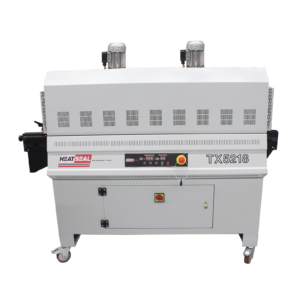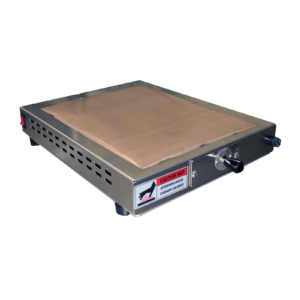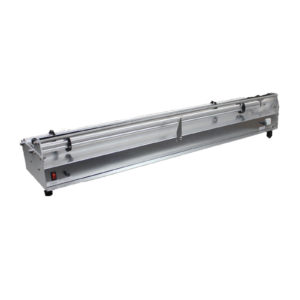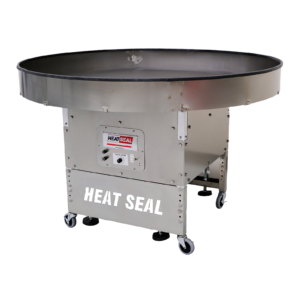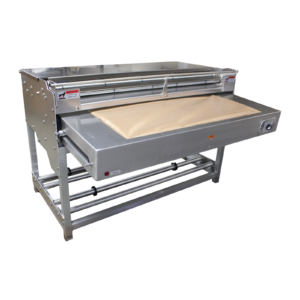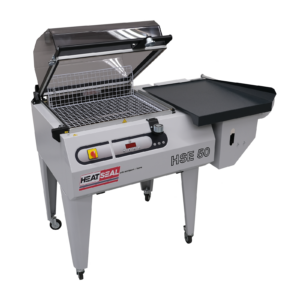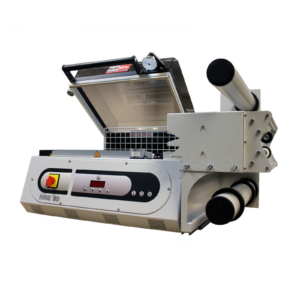
Description
Heat Seal’s Combos are the perfect solution for streamlining your packaging process and ensuring your products are presented with the utmost professionalism.
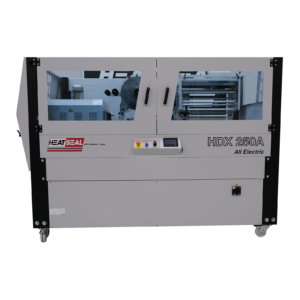
The HDX250 is built to withstand the demands of industrial packaging. Its robust construction ensures durability, providing a reliable and long-lasting solution for your shrink-wrapping needs.